


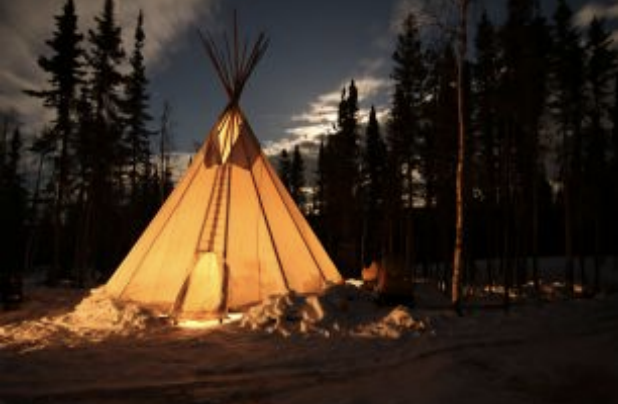


If you are looking for scenic locations hidden around Yellowknife, then this blog post is for you. There are plenty of hidden treasures around Yellowknife

For many years, we have heard this proverb, “A Picture is Worth a Thousand Words,” and to this day, this saying is still accurate. The

The anticipation is building up inside as you dream of your next vacation where you’ll be photographing the spectacular northern lights. As you wait to

Many businesses had to shift their working operations to an online setting because of the covid-19 pandemic. Virtual tours have been helpful because you can

Photographing the northern lights can be tricky because this activity is weather dependent. Typically people will constantly check the weather forecast the evening of aurora
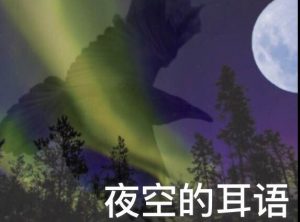
夜空的耳语 清凉冷脆的午夜天空,翠绿的霞光翩翩起舞,把过去和现在连接起来。 暮色渐渐染浸了夜空,永恒的灵魂扶摇旋转,那是先人祈盼逃离尘域。 黄昏的天空暗淡下来,白雪覆盖了绿色的高山,星空下姹紫嫣红飘散。 在这朦胧的夜色之中,渡鸦张开它黑色的翅膀,向我靠近又将我高举。 忧郁之翼翱翔于空中,这是逝去之人呼唤吾名,悄声召唤着我的灵魂。 翠绿的极光降临夜空,再次翩然起舞壮阔美丽,我的灵魂也随之而去。 静寂的月光轻闻鸣吟,斑驳不语之影弥漫萦林,茫茫白雪漫裹着大地。 我又重回温暖的怀抱,橙色火光欢快闪烁跳跃,照亮远方的苍穹之际。 寒冷黑夜中极光带绿,已逝之魂借着翔翼低语,使原本静谧的夜更寂。 无尽的召唤午夜响起,渡鸦鸣叫呼唤我的名字,让我的灵魂穿山越脊, “我会回到你的身旁,无论何时我会回到你的身旁。” Share on facebook Share on google Share on